Playing around with CoreDNS
saving your time: In this post, we will explore how to set up a basic DNS server using CoreDNS and configure it to serve local domain names while forwarding other DNS queries to external resolvers
Summary #
- Download the Ubuntu Server ISO: Ubuntu Downloads
- Install Ubuntu Server on VirtualBox
- Set the virtual machine’s network mode to bridge
- Disable systemd-resolved
- Download CoreDNS
- Create a Corefile with the desired configurations
- Create a DNS zone file for CoreDNS
- On the host machine, add an entry in
/etc/hostsmapping the VM’s IP for DNS resolution - Test name resolution using a browser and
dig
After installing the virtual machine (VM) and assigning an IP address via DHCP, follow the steps below (:
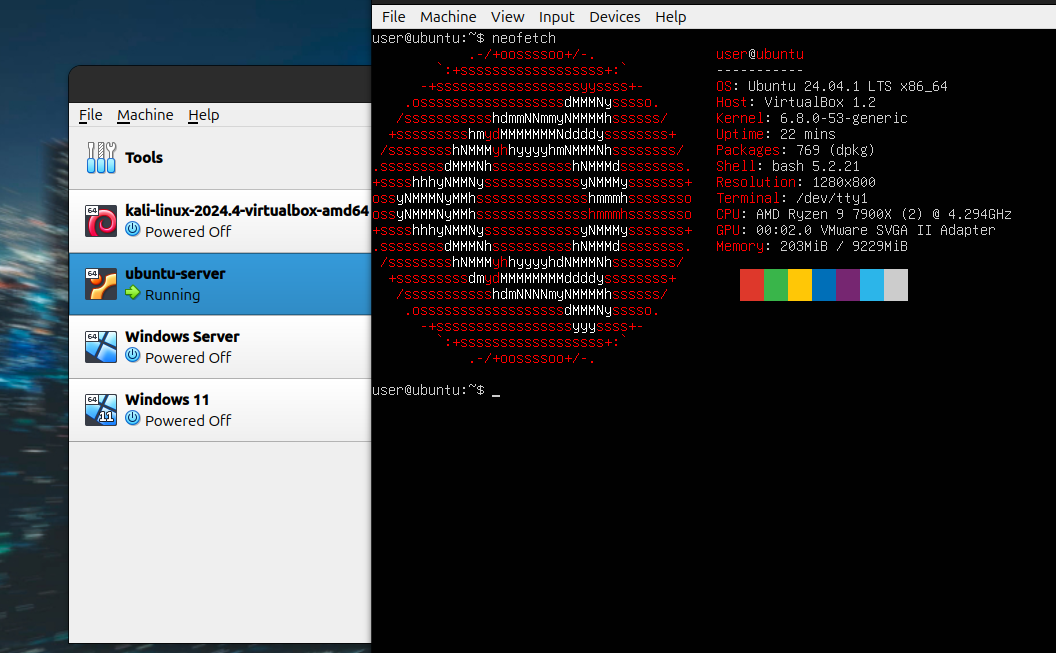
Configure Ubuntu Server #
Login using SSH and download CoreDNS
sudo systemctl stop systemd-resolved
wget https://github.com/coredns/coredns/releases/download/v1.10.1/coredns_1.10.1_linux_amd64.tgz
tar -xvzf coredns_1.10.1_linux_amd64.tgz
touch admin.meudominio.local
touch Corefile
Create file Corefile
admin.meudominio.local {
    file ./admin.meudominio.local
    log
    errors
}

.:53 {
    forward . 8.8.8.8 1.1.1.1
    cache
    log
    errors
}
Create file admin.meudominio.local
$ORIGIN admin.meudominio.local.
$TTL 3600
@ IN SOA ns.admin.meudominio.local. admin.admin.meudominio.local. (
2025021901 ; serial
3600 ; refresh
1800 ; retry
1209600 ; expire
3600 ) ; minimum TTL
@ IN NS ns.admin.meudominio.local.
ns IN A 192.168.100.218
@ IN A 192.168.100.1 ; admin.meudominio.local
db IN A 192.168.100.1 ; add db.admin.meudominio.local
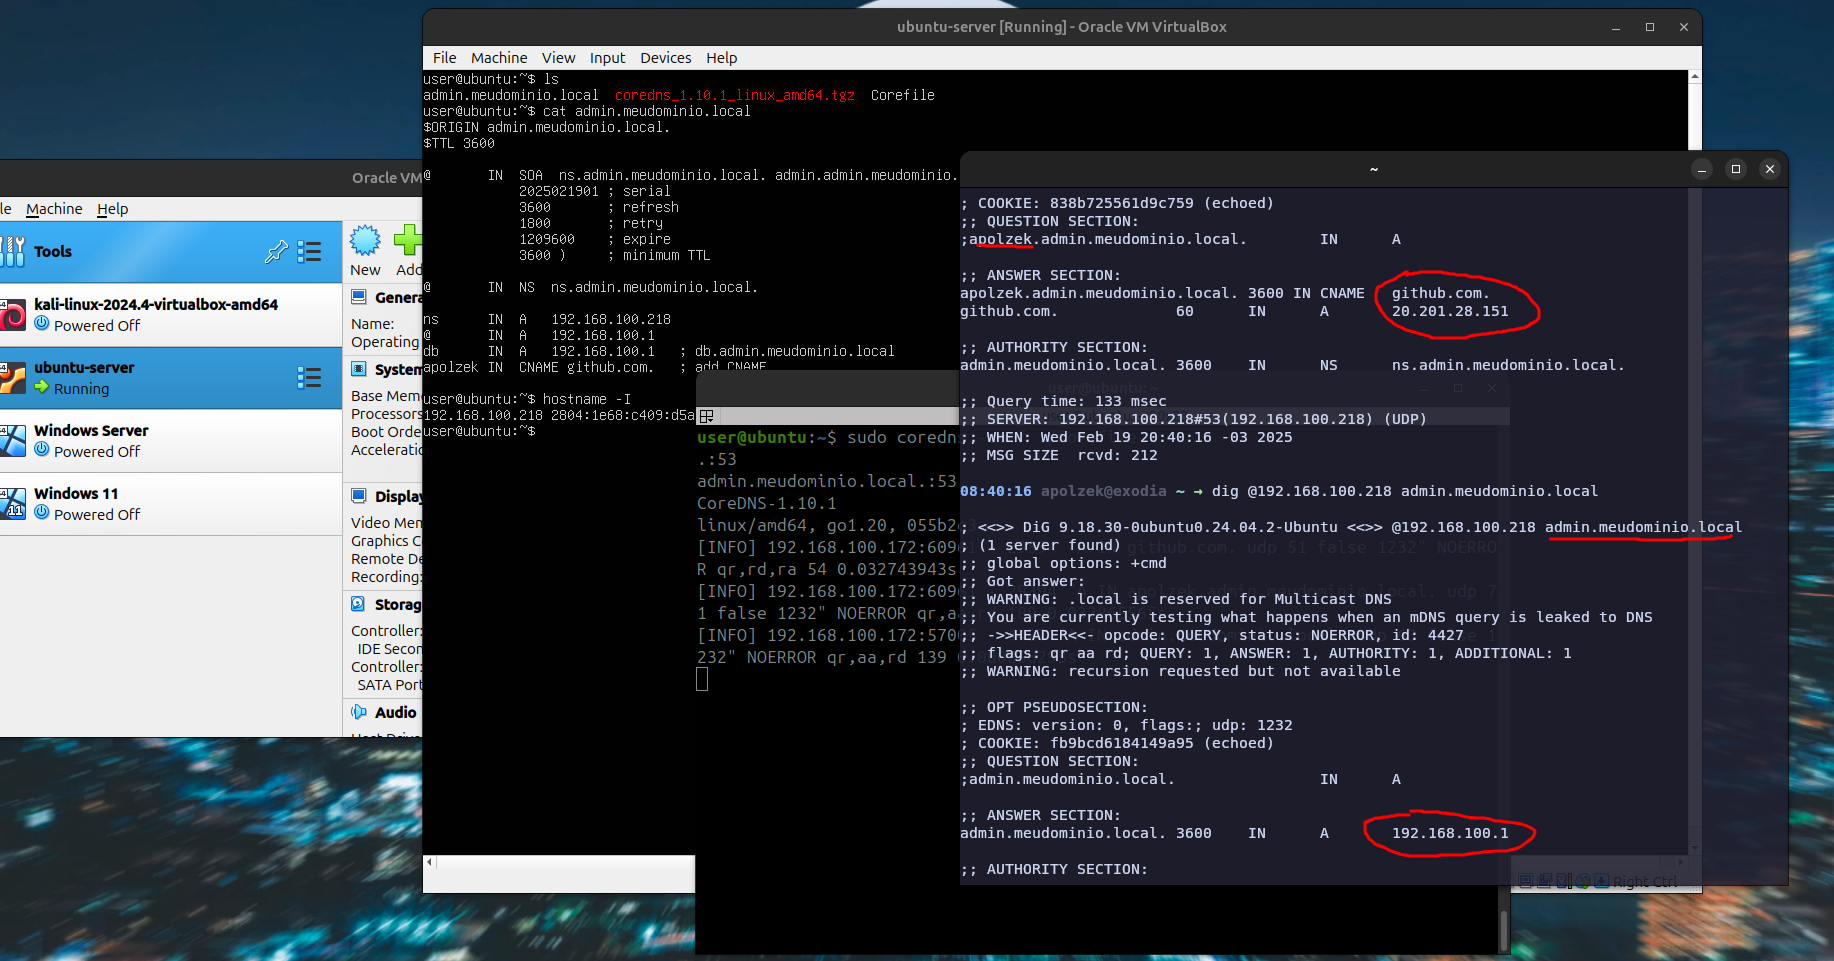
apolzek IN CNAME github.com. ; add CNAME
start CoreDNS
sudo coredns -conf ./Corefile
Configure linux host (i’m using ubuntu) #
Add the VM’s IP to resolv.conf
nameserver 192.168.100.218 # VM with Ubuntu Server and CoreDNS
Testing #
Run in the host terminal
dig @192.168.100.218 apolzek.admin.meudominio.local
dig @192.168.100.218 admin.meudominio.local